How do you usually use the canvas to be a support for the canvas?
Thousands, such as those who adhere to the panel using the glue, those who draw a canvas on the wooden frame on an amel or wall, paste a canvas on the wall, draw it on the wooden frame. There will be a way to do it.
Among them, in the case of a tension canvas in the wooden frame, but the tension was applied to the screen during the transportation or during the production of the work, and the dent was created, and it was weak. Do you have such an experience that you have been torn too strongly?
Certainly, if you put a canvas in the wooden frame, it is possible to remove the canvas after the work is completed and round the canvas, and it is very easy to transport.
However, in addition to the possibility of the above problems, the state where the canvas is not fixed can cause cracks on the screen.
However, at the work production site where speed is sometimes required, it is not possible to do the work of dissolving the glue and bonding the canvas.
Therefore, this time, we will introduce "Creating a canvas basal material that anyone can easily use", which uses the woodworking bond as the main adhesive based on Yoshiaki Aoki, the advisor of this lab.
By pasting it on the panel, you can work on the work with confidence without hesitation, and you can go to the installation without worrying about dent when transporting.
Let's take a look at what kind of process is actually pasted into the panel.
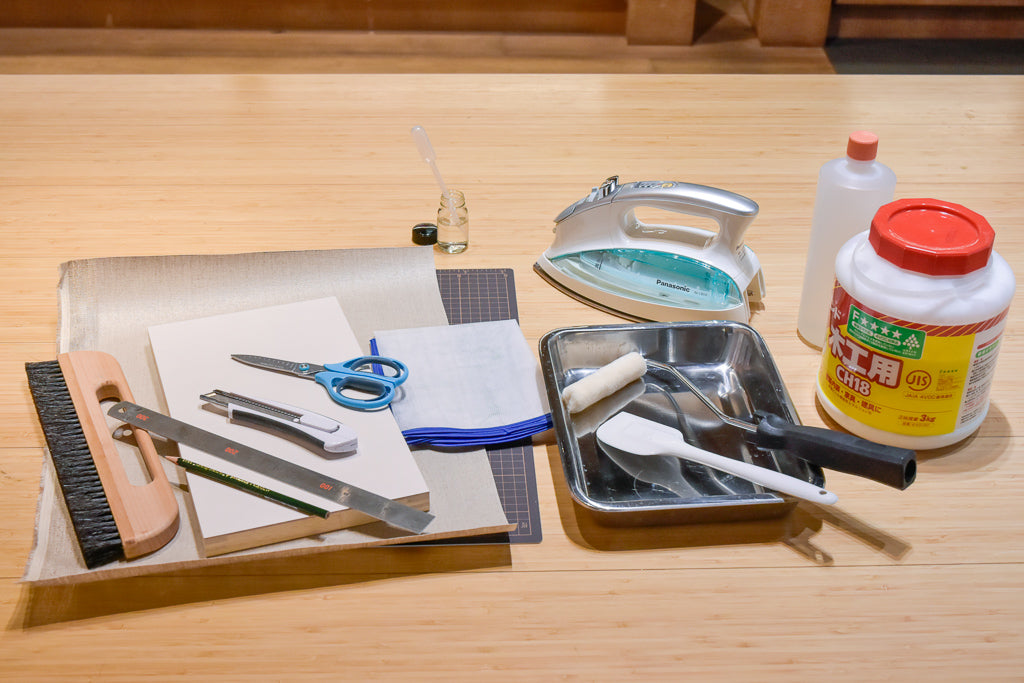
The materials used are as follows.

·panel
·canvas
・ Cutter knife
·ruler
・ Wall cloth clothing brush hair
・ Bond for woodworking
・ Laundry (PVA)
·ammonia
・ Aluminum bats
・ Roller set
・ Rubber
・ Iron for clothing
・ Iron applied cloth
① Preparation of glue material
Put a woodworking bond in an aluminum bat with a rubber spatula and add a small amount of PVA (laundry) to adjust the drying speed. PVA itself has a weak adhesive power, and if this is a lot, you will not be able to bond the canvas, so be careful of the amount. Because the woodworking bond is acidic, a small amount of ammonia is inserted to stabilize neutral. Then mix them well with rubber spatula.
* PVA is an abbreviation of polyvinyl alcohol, mainly sold in drugstores. A woodworking bond is made by adding acetic acid here, which is the best material as a thin liquid.


② Adhesive with a roller
After mixing, attach the glue to the roller in the bat. The trick is to roll it vertically and to permeate it evenly to the roller.
Then, apply glue to the top of the panel. At this time, if you push the roller strongly, the bond will bleed, so we will work gently and carefully. This time, I use a Maruoka HD-2 panel with a sheet of the lynes on the panel.
※This item has been closed.


③ Adoven the canvas to the panel drawing screen
Glue the panel to a moderately cut canvas that can be stuck to the back with scissors. At this time, it is a good idea to make a light mark so that it can be installed in the center.
Then turn the panel upside down, stroke the canvas with a cross brush and blend in.
Promote the work to go from the center of the screen to the outer periphery.
After that, use a patch cloth to temporarily adhere to the heat of the iron. In the case of thick fabric such as hemp canvas, do not use the temperature setting of the iron if it has a medium to high temperature, and if it has a steam function. If you use a land -painted canvas, care must be taken if the temperature setting is too high, as the glue and Jesso will melt. (Low temperature for thin dough)


④ Create glue on the side
Make a glue on the side and paste it so that it does not come off from the end.
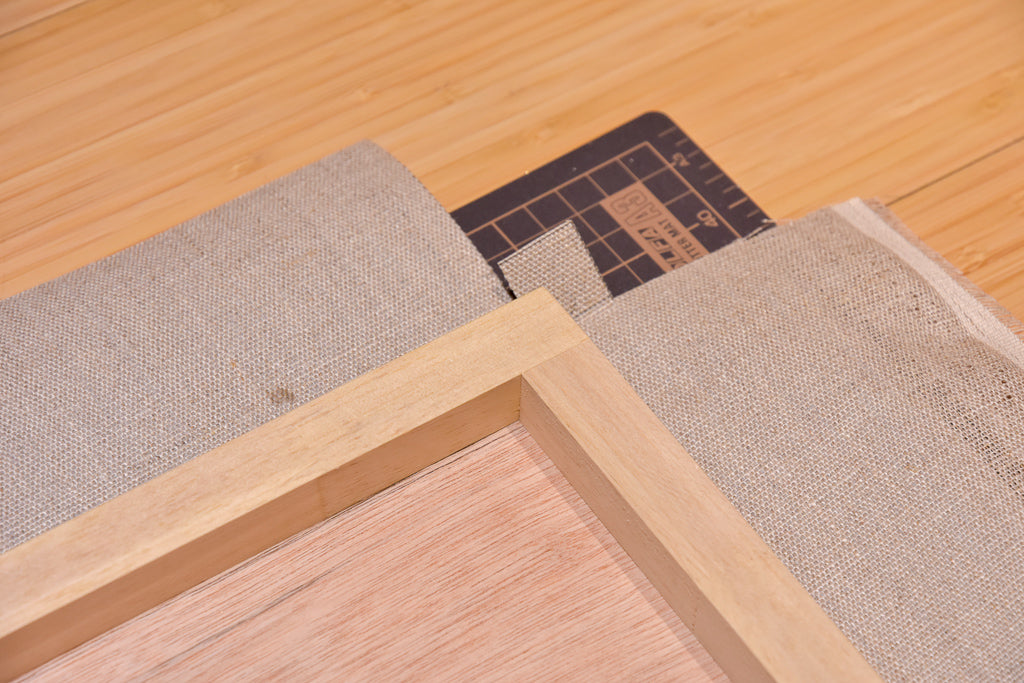
First, draw a straight line on the four corners of the panel, and make a square ear of glue on the top. The size of the ears at this time should be the same as the thickness of the used panel.
Once you have a square, make your ears using the cutter and ruler.
Do this work on the three corners that remain.


⑤ Paste of the side
In the same way as (3), first apply a bond to the panel with a roller from the surface where the ears are attached, stroke it with a cross brush, then glue it with an ironed iron.
Make sure to use the deflection and bond bonding on the surface to be drawn.


⑥ glue of glue
Glue the part that is woven into the canvas.
At this time, proceed with the work while checking whether the canvas is bonding to the panel as in the previous process.


⑦ Paste the back and cut the surplus part
Put the glue on the back and glue it with an iron, and cut the surplus canvas along the panel sun.
Then, cut the ruler to 45 ° to the corner of the panel so that the thickness does not come out when the canvas is stacked from above.
Repeat this process on the canvas on the side where the upper and lower ears are.


⑧ glue the rest of the surface and cut the surplus canvas
Glue the remaining parts with the side → the back side so that it can be covered over the ear.
Then cut the surplus part in the same way and cut the canvas on a diagonal so that it does not overlap the canvas below.


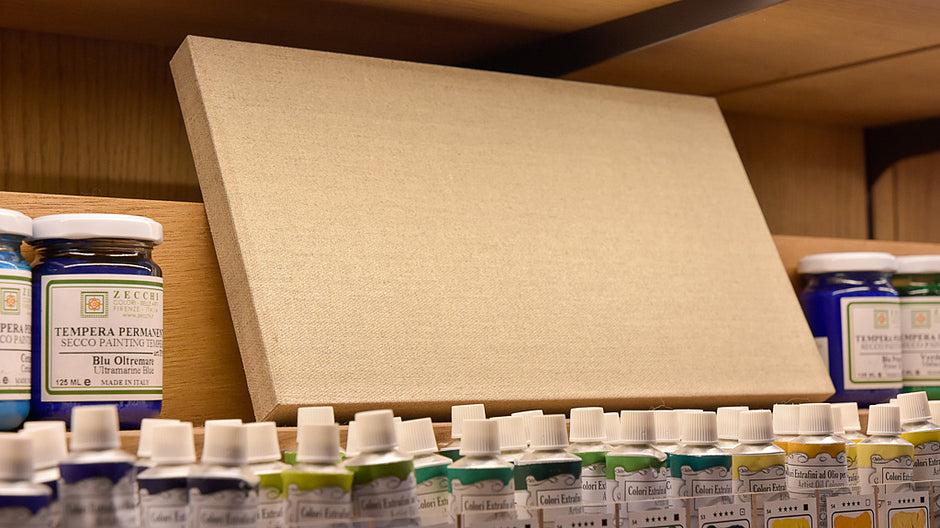
⑨ Completion
After all adhesive, it's done.
It is ideal to leave at least 12 hours before producing, as the glue material may not have dried yet after bonding.


You will now be able to produce not only the dents that arise in the tension on the canvas, the cracks of the screen, but also the rust of tuckers and nails.
This time, I used a gland -up canvas, but this method can be applied to cotton cloth and cloth, as well as canvas with Jesso painted.
It can be used not only for production, but also when pasting your favorite textile on the panel, so please try it.

