
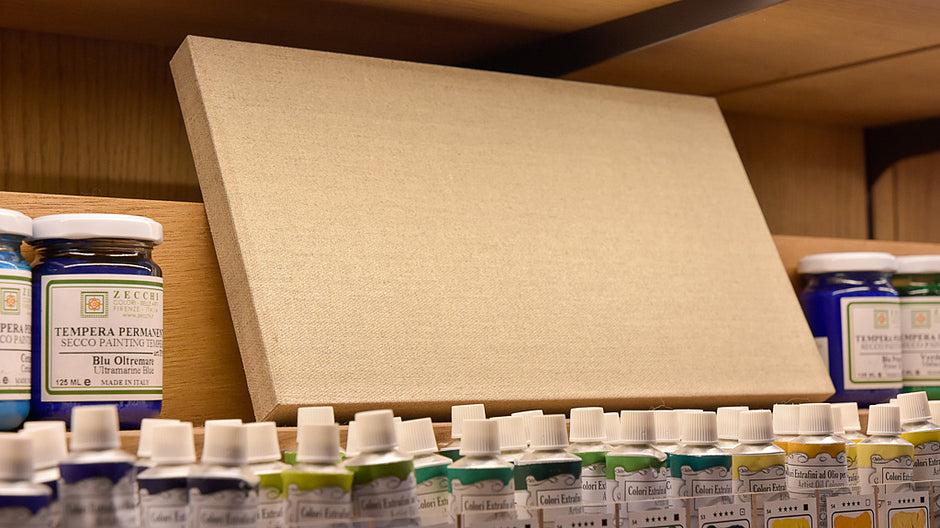
When you use canvas as a base material, how do you usually fix the canvas firmly for creating artwork? Everyone has their own way to fix the canvas. For example, sticking the panel by using animal glue, drawing on the stretched canvas frame by placing it on an easel or wall, or drawing on the canvas which was placed on the wall first and then putting it on the wooden frame.
In the case of Stretchers bars, when you were transporting your work, or in the middle of creating your work, have you ever experienced the trouble that part of your screen was dented due to the pressure, or bent or broken due to stretch a canvas on the frame weaker or stronger.
When you stretch a canvas on a frame, you are able to take it off the canvas after the work has been done, and it is very easy to carry out because it's weightless.
However, there is a possibility of the trouble above happening, and also when the canvas was not fixed, cracks might occur.
Moreover, we do not have enough time to dissolve animal glue and stick it on canvas every time while creating artworks that speed is required.
This time, we would like to introduce "Easy way of sticking canvas on a panel" which was produced by our Laboratory adviser Yoshiaki Aoki by using the bond for woodworking as a main glue.
By sticking on a panel, canvas does not bend and you can concentrate on your work without any concern, and you can install a work without any dent.
Here's the materials we are going to use.
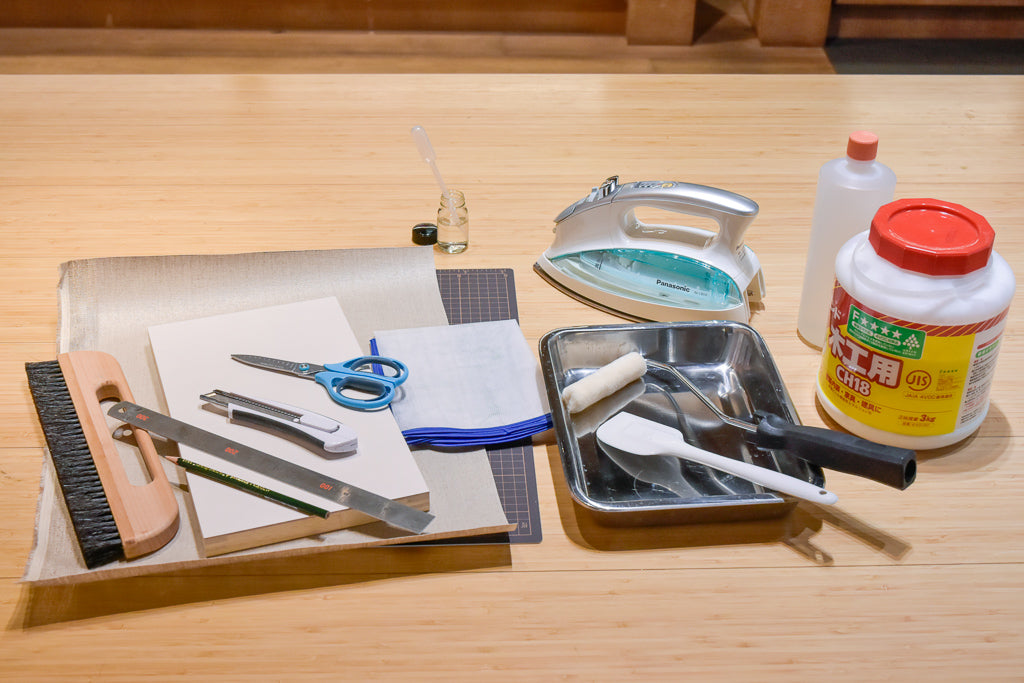
・Panel
・Canvas
・Cutter Knife
・Ruler
・Flat brush for wall sticking
・Bond for woodworking
・Glue (PVA)
・Ammonia
・Aluminium bat
・Roller
・Ironing machine
・cloth for Iron
1. Prepare the glue
Put a bond on an aluminum bat and add a little PVA(Laundry glue)in order to adjust
the speed of drying speed. Keep an eye on the amount of
PVA’s adhesive since the force of PVA itself is weak, and when it is too much it will be difficult to stick on a canvas.
Bond for woodworking is acidic, so you add a little ammonia to stabilize and bring it closer to neutral.
*PVA stands for "Polyvinyl Alcohol", and it is usually used for laundry glue.
When adding PVA to acetic acid, it turns to be a bond for woodworking which is suitable material for dilute liquid.


2. Stick by roller
After you mix, put a roller into glue in the bat.
The technique is, to soak a roller into the glue and roll it evenly by lengthwise and sidewise.
Then, put it on the upper part of a panel.
When you put too much pressure on a roller, the bond will seep out, so continue your work carefully and gently.
This time we are using a panel from MaruokaHD-2 which has a lay stopper sheet.
*Sorry, this item is no longer available.


3.Stick a canvas on the drawing side of a panel
Stick a canvas which you had cut into appropriate size by scissors on a panel.
This time, it is better to make a mark for putting a panel at the center.
Then, turn a panel over, and brush gently with flat brush for wall sticking.
Brush gently starting from the center and gradually to outer part.
Put a cloth and iron it for temporary fixation.
When use the hemp cloth or thick cloth, the temperature of iron is medium~ high.
Please do not use the steam iron.
In the case of under covering canvas, be careful with the temperature. If the temperature is too high, animal glue or gesso is going to melt. (Use low temperature for thin cloth.)


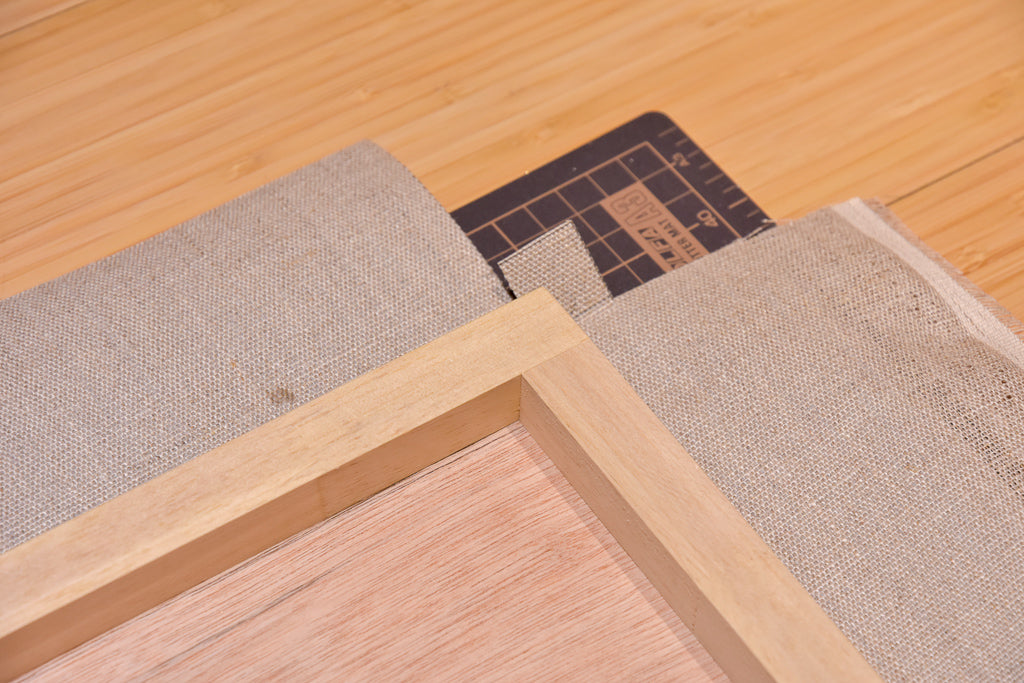
4.Create a tab for sticking on the side part.
Create a tab for sticking on the side to prevent the cloth from coming off.
First, draw a straight line along the four side of the panel, and create a square tab for sticking on the upper part. Make a same size of the tab with the panel thickness that you use. After you make a square, make a tab by using a cutter and ruler.
Continue the same process for the other three angles.


5. Paste on the side part
Following the procedure of 3, put a bond on the panel by roller starting from the side with a tab, brush gently with a brush for wall sticking and put it together by iron with the cloth. This time, make sure to iron out the wrinkle and continue the process by checking the bond adhesive force.


6. Stick the tab
Then glue the tab which you hold inside the canvas.
This time, as the process above, continue it by checking the adhesive force of the bond.


7.Paste on the back side and cut the leftover.
After glue on the back side and stick it with the iron, cut along the panel's window frame. Then, cut it with ruler and make 45 degrees for the corner of the panel to avoid the thickness when put the canvas from the top.
Repeat this process on the canvas that has the tab on top and bottom.


8. Bond the other side as well and cut the leftover.
By covering the tab on the top, bond the other part from side to back side.
Then cut the left part and cut the canvas diagonally in order not to piled up with the canvas under.


Completed
After you bond everything, it's done!
The glue might not have dried fully, therefore, at least 12 hours of waiting is recommended before start working.


How was all the process so far?
By doing this, you can work on your art without concerning about the dent on the canvas due to the pressure, crack on the screen, and rust by tacker or nails.
This time, we used the canvas with animal glue, but you can use the canvas pasted gesso, as well as the cotton cloth or fabric. For your art work, you can also use this method for putting your favorite textile on panel, so give it a try!
Profile

Art Materials Expert at PIGMENT TOKYO
AKIRA OYA
Born in 1989 in Tokyo. Master of Fine Art and Design at Nihon University College of Art. While working at PIGMENT TOKYO as an Art Materials Expert, he also continues his career as a visual artist.
Born in 1989 in Tokyo. Master of Fine Art and Design at Nihon University College of Art. While working at PIGMENT TOKYO as an Art Materials Expert, he also continues his career as a visual artist.