

Gel Medium is a water-based medium that can be mixed with acrylic paints to improve the transparency and thicken up the paints to create textures.

Some of you may think that “Isn’t Gel Medium can only be mixed with tube paints?” but did you know that it can also be used as an adhesive for making collages?
Moreover, it is also possible to transfer an image from a regular laser printer by gluing it to a water-resistant surface.
In this article, I will try to create a collage using Gel Medium’s transferring ability that I have mentioned.
I’m going to use some images of calligraphy from the archive collections published by The Metropolitan Museum of Art. *1
Before we start, you will need to prepare the following items.
■ Art Materials and Tools :
・Wooden drawing board
・Images printed out with a laser printer
・Gel Medium
・Paint roller
・Mist spray bottle
・Iron
・Pressing cloth
・Hairdryer
(Note: The result of the images will be reversed after transferring to the drawing board. Therefore, please be aware of that when you use images and designs that include text, writing, etc.)
①Wood Filling and Undercoating
Fill the wood to prevent the Gel Medium from staining the drawing board.
When transferring to water-resistant base materials such as glass, it may be necessary to apply a primer or undercoat to strengthen the medium's fixing power.

Apply two or three layers of Gel Medium with a paint roller and let it dry completely.
Then, apply another coat of Gel Medium to the surface evenly.

②Apply Gel Medium to the Image for the Transferring
While waiting for the Gel Medium from step ① to dry, apply the medium to the printed images.
Please print the images on plain paper (or PPC paper) for later process.
Moreover, please be gentle while using the roller to prevent tearing the paper.

③Transfer the Design to the Drawing Board
Paste the drawing board on top of the printed image before the medium is applied in steps ① and ② dries.
The final result might not look good if there are air bubbles in it, so paste the image carefully and evenly to the drawing board.
If air bubbles still appear, carefully stretch the paper from the center to the corner as if you were applying a screen protector to your electronic devices.

③Pressing with an Iron
Press the printed image with an iron to prevent air bubbles from appearing during the drying process.
Please make sure that the printed side fully adheres to the drawing board.
Set the temperature to the lowest setting and do not use steam while ironing. You can also use a piece of pressing cloth to protect the paper.
Once you are done pressing and ironing, wait until the Gel Medium and glued side is completely dry.

④Water Spray the Dried Drawing Board
Cut out the margins and spray the dried drawing board with a mist spray bottle to moisten it evenly.
Since Gel Medium can become water-resistant once it dries, only the fibers of the plain paper will dissolve, and only the laser printer colors adhered by the Gel Medium will be fixed to the drawing board.

⑤Remove the Fibers from the Surface
Once the drawing board is evenly moistened, remove the fibers of the plain paper by gently rubbing it with the palm of your finger.
Remove the fibers gently to prevent scraping off the image that is transferred by the Gel Medium.
If the paper dries out during the process, spray it again with water and repeat the steps.

⑤'Repeat this Step Several Times
Once you have roughly removed all the fibers, dry the paper once with a hairdryer to check how much fiber remains.
Then, repeat the steps from ④ to ⑤ until there’s no plain paper left.
Try to focus on removing the areas where the transferred image is still covered with the paper.
The following photos show how the result looks like by repeating the steps twice.

Moisten the whole thing again and slowly remove the fibers of plain paper.

⑥Transfer Completed
Let it dry again and remove the paper until you get the result you want, and you are done!
If you decide to finish the work by only transferring the printed image, you can apply varnish to protect the surface and design.
We recommend Crystal Varnish if you want a glossy finish, and Matte Varnish if you want a matte texture.


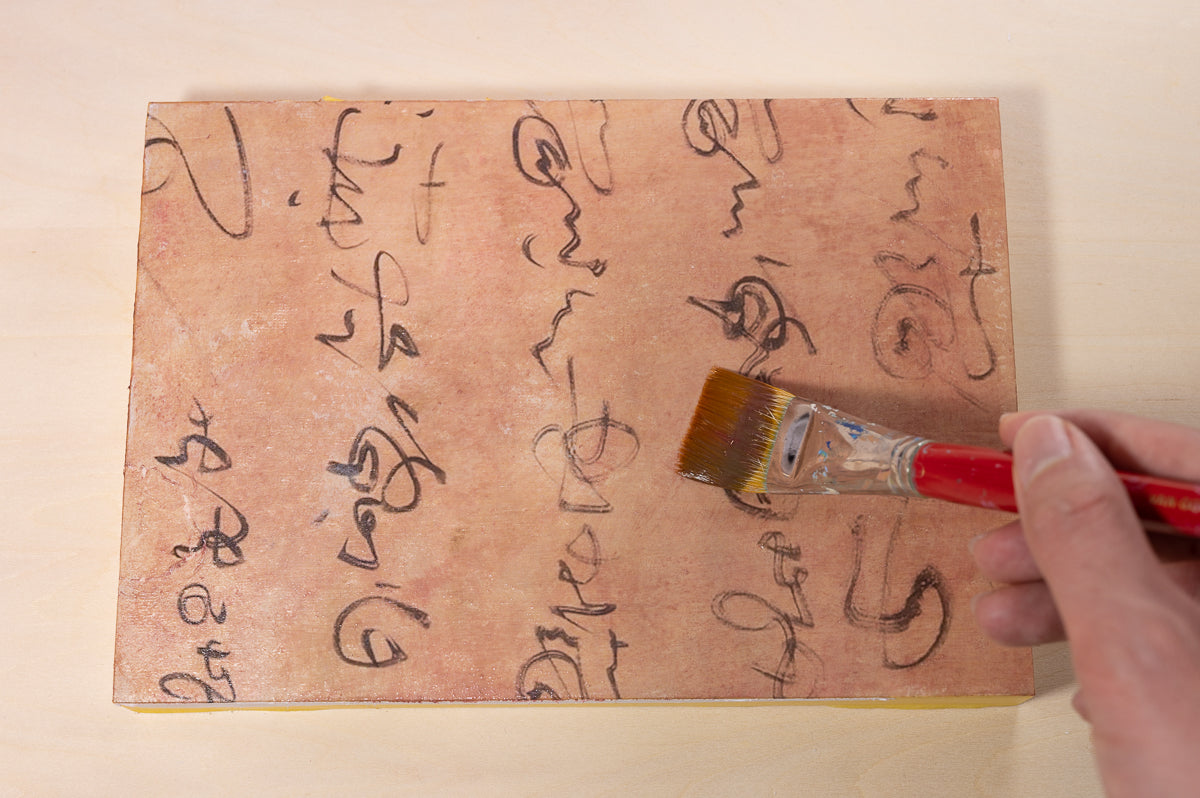
In this case, I wanted to make the design look like those ancient manuscripts, so I left some of the fibers in place and painted over them with a mixture of Gel Medium and a small amount of brown paint.
Since the image has completely fixed to the drawing board, it does not wrinkle or sag even when it is applied with paints over the top or stroked with a brush, as is the case when painting over collage.
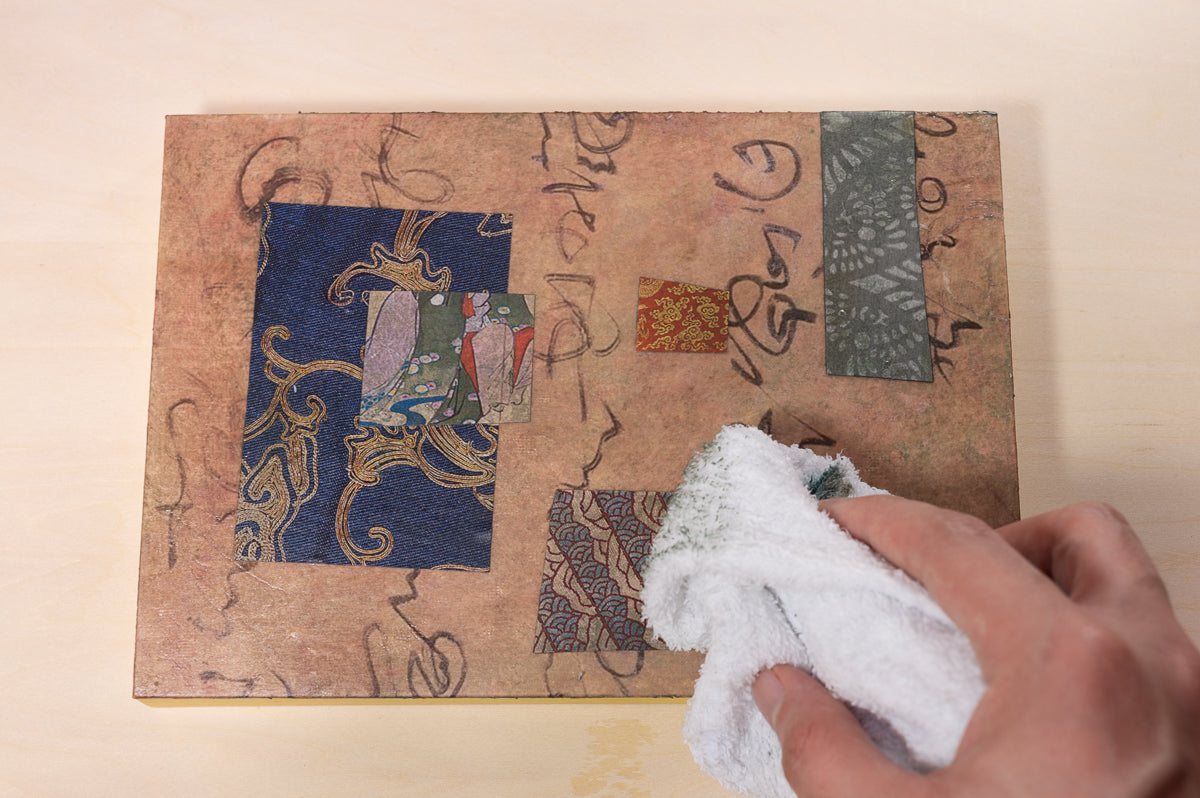
⑦Collaging
Next, I decided to add some “spice” to the design by creating a collage inspired by the traditional Japanese art of Ryoshi (料紙, a traditional technique of decorating Washi paper).
The images of the art pieces I used here for collaging are also available on the official website of The Metropolitan Museum of Art. *2
You can create a composition by actually cutting and applying them.

⑧Stick and Paste
In this process, we will use a Gel Medium Matte.
Common craft glues have weaker adhesive strength or are not water-resistant and will peel off when the paint is applied on top, but Gel Medium will firmly adhere to the surface.
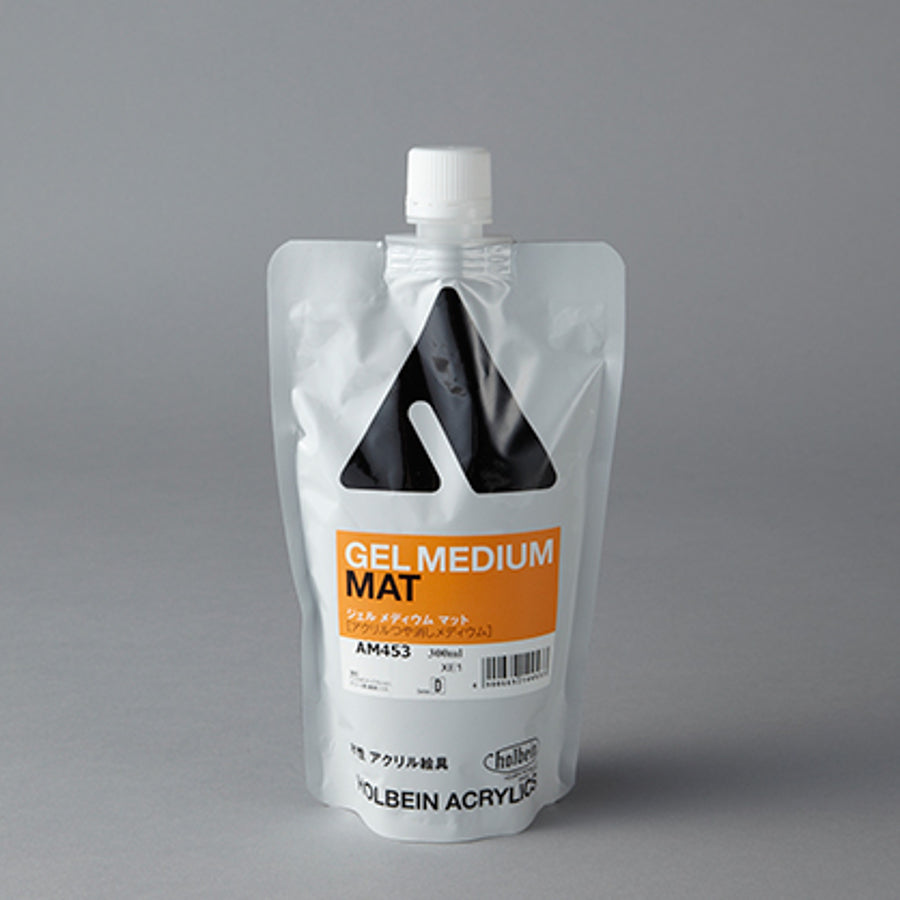
I used Gel Medium Matte to avoid unnatural gloss on the edge of the glued area. If you want to create a glossy finish, you can use a regular Gel Medium.

⑨Final Step
Since I wanted to give it a more antique touch, I applied a thin layer of Gel Medium mixed with another color and lightly tapped the surface with a rag to achieve a more aged look.
The transferred image on the board has a different texture and color from the printed image, so this technique would open up the possibilities of creating different spaces and designs on the flat surfaces.
⑩Finish
Let it dry and you are done.

This time, I transferred the image onto a plain drawing board, but by applying colors to it, the underlying color layer will show through when the image is transferred, giving it a unique color tone.
Also, since the first layer is completely water-resistant, you can make it look more “painterly” by painting or coloring on top of it.
Acrylic, alkyd, and oil paints can be applied on top of the water-based painting surface, so you can try glazing and paint with AQYLA on top of the black-and-white design, a technique similar to oil painting on photographs.

Now, it’s time for you to try and create a new collage artwork by using Gel Mediums!
Reference
*1 《Biographies of Lian Po and Lin Xiangru》Huang Tingjian,ca. 1095,The Metropolitan Museum of Art
*2 《Cosmological Mandala with Mount Meru》14th century,The Metropolitan Museum of Art
《Emperor’s twelve-symbol festival robe》The Metropolitan Museum of Art
《Five Beauties》Teisai Hokuba,1840,The Metropolitan Museum of Art
Profile
Art Materials Expert at PIGMENT TOKYO
AKIRA OYA
Born in 1989 in Tokyo. Master of Fine Art and Design at Nihon University College of Art. While working at PIGMENT TOKYO as an Art Materials Expert, he also continues his career as a visual artist.
Born in 1989 in Tokyo. Master of Fine Art and Design at Nihon University College of Art. While working at PIGMENT TOKYO as an Art Materials Expert, he also continues his career as a visual artist.